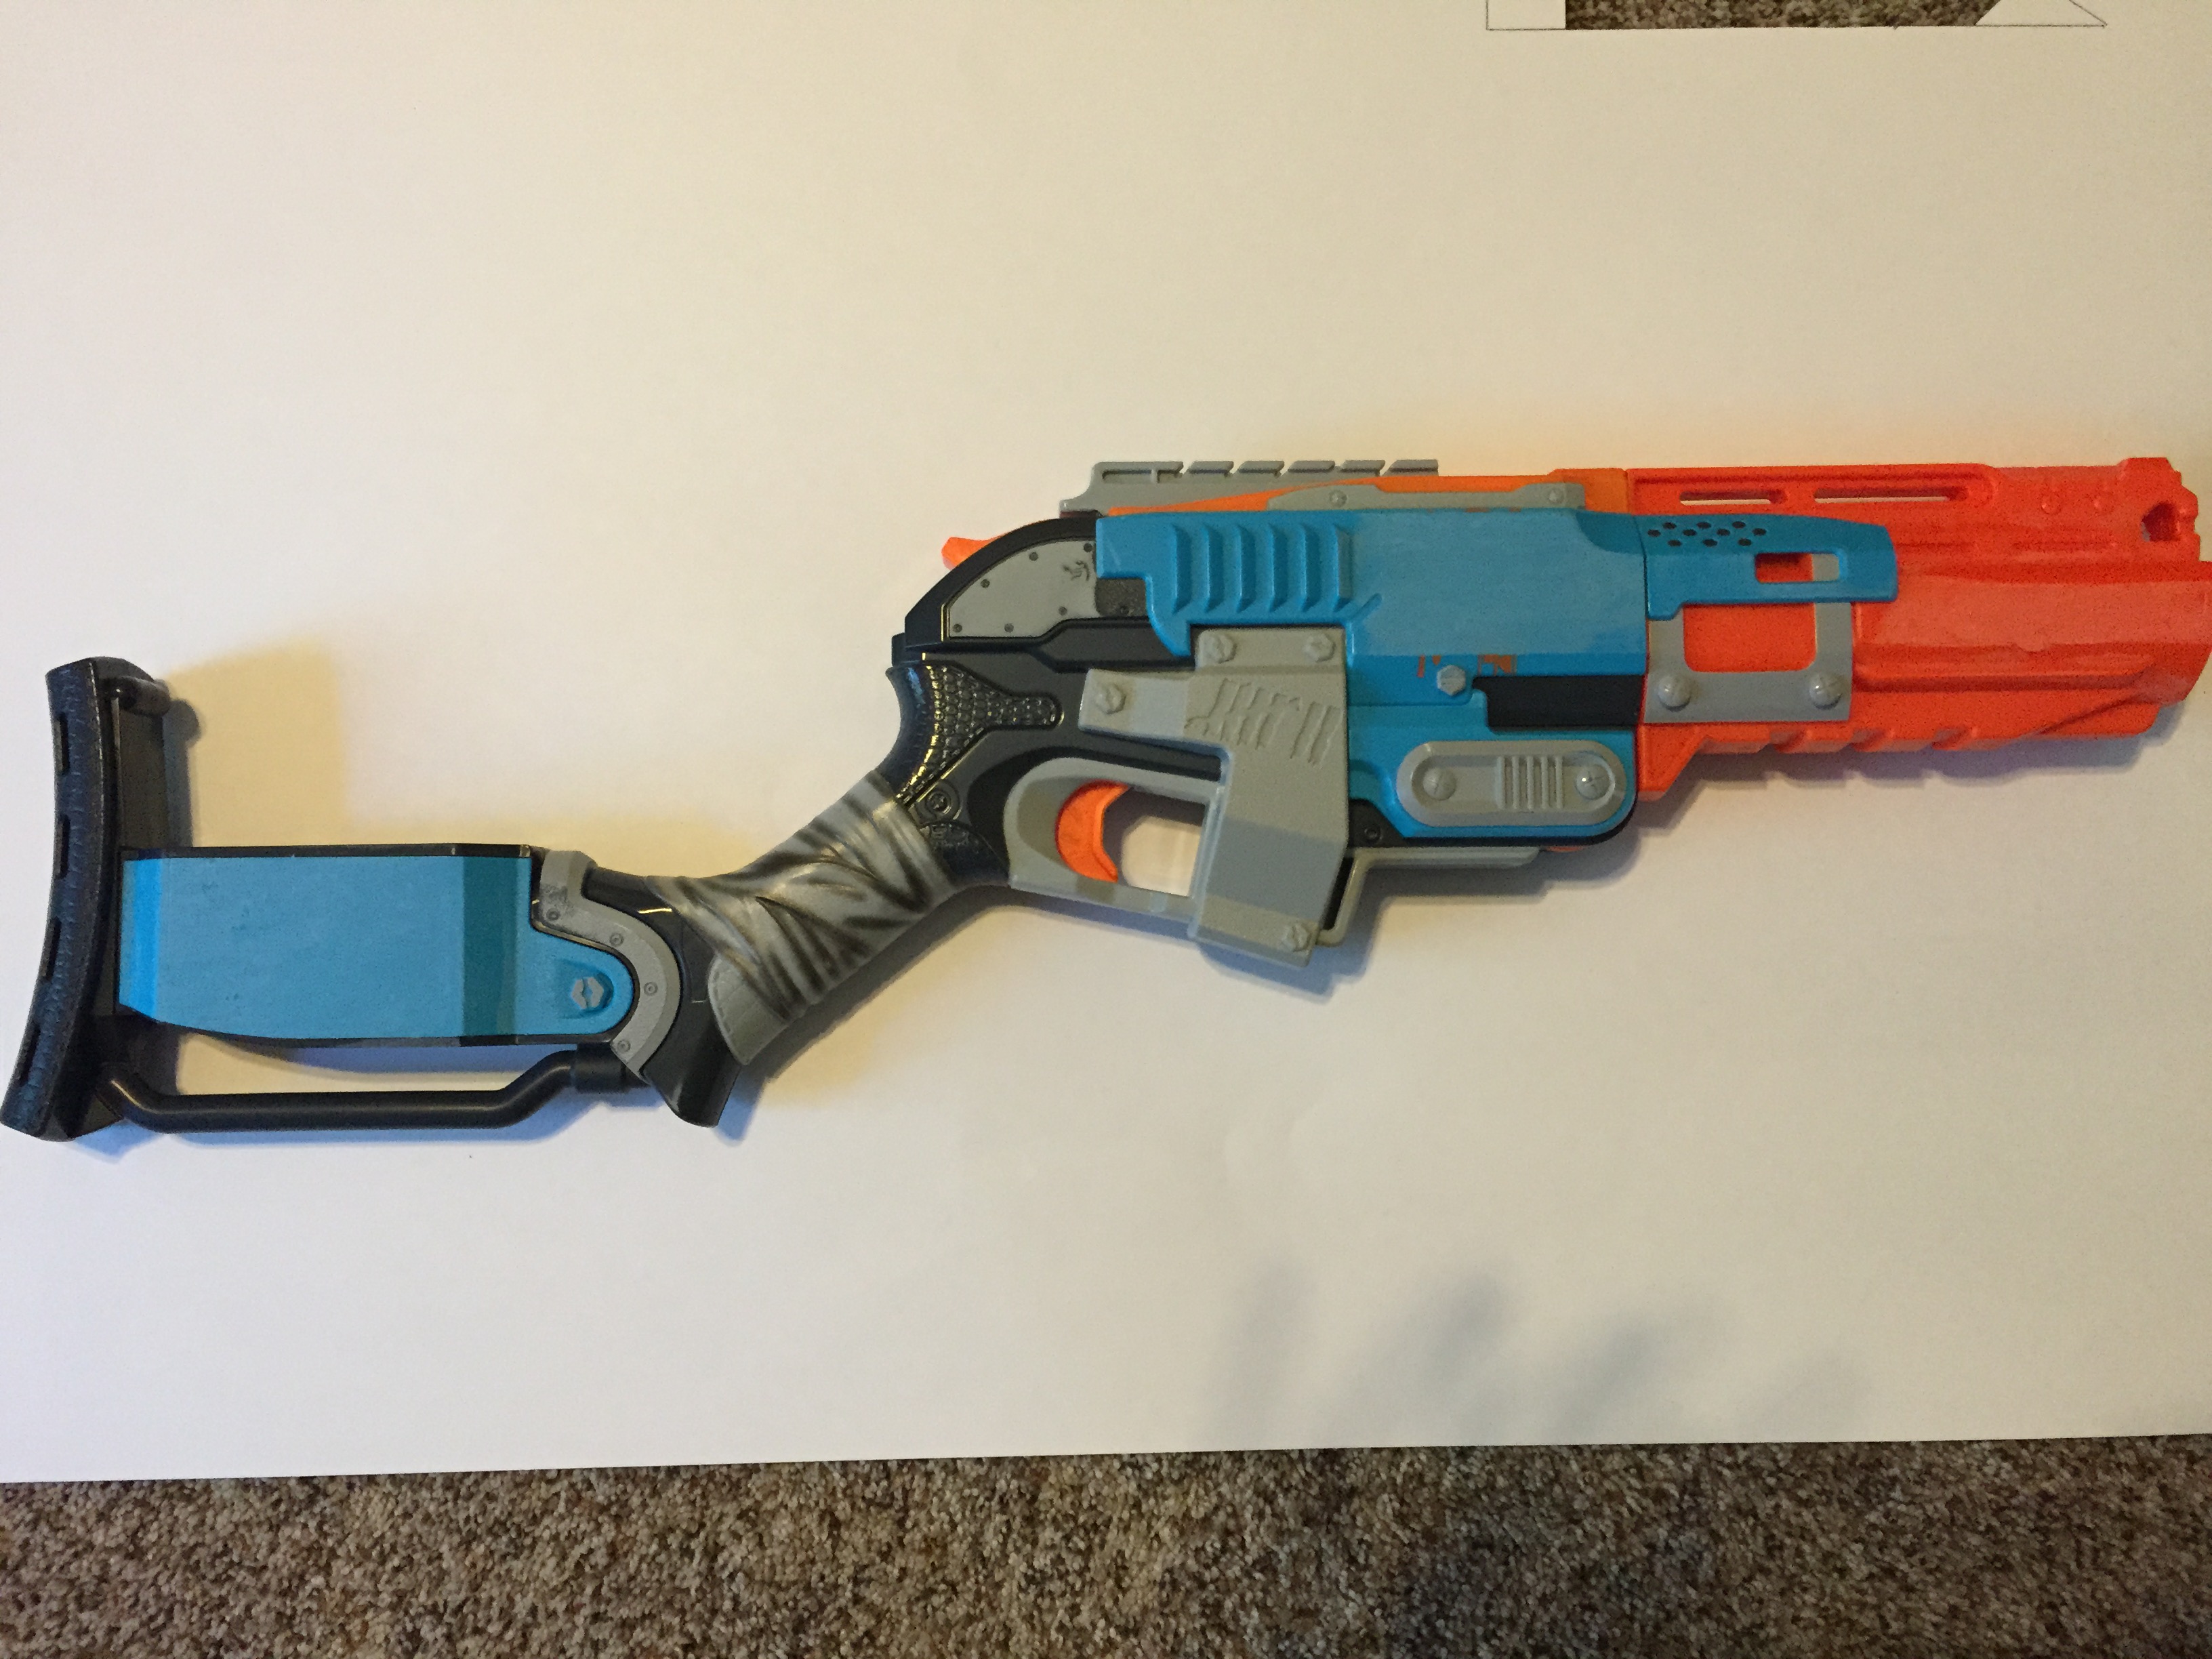
Today I'm going to show you the Nerf Sledgefire, this counts as a Shotgun in the Calamity rules system. I'm going to go over how I painted and modded my to improve the appearance and increase performance.
Step 1. Unboxing
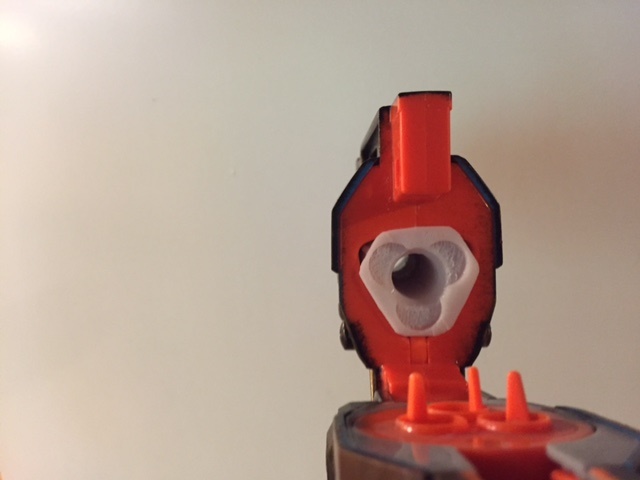
The Sledgefire comes fully assembled. It is a breech loaded weapon and comes with three cartridges that each hold three elite nerf darts. Stock, it shoots all three darts at one time and the range is mediocre at best.
Step 2. Sanding
I always sand off the Nerf logos, weapon name, and safety warnings. I use a palm grip sander to make this process fast. I'll often then go back over the whole gun with light grit sanding block so that it will take the paint better.
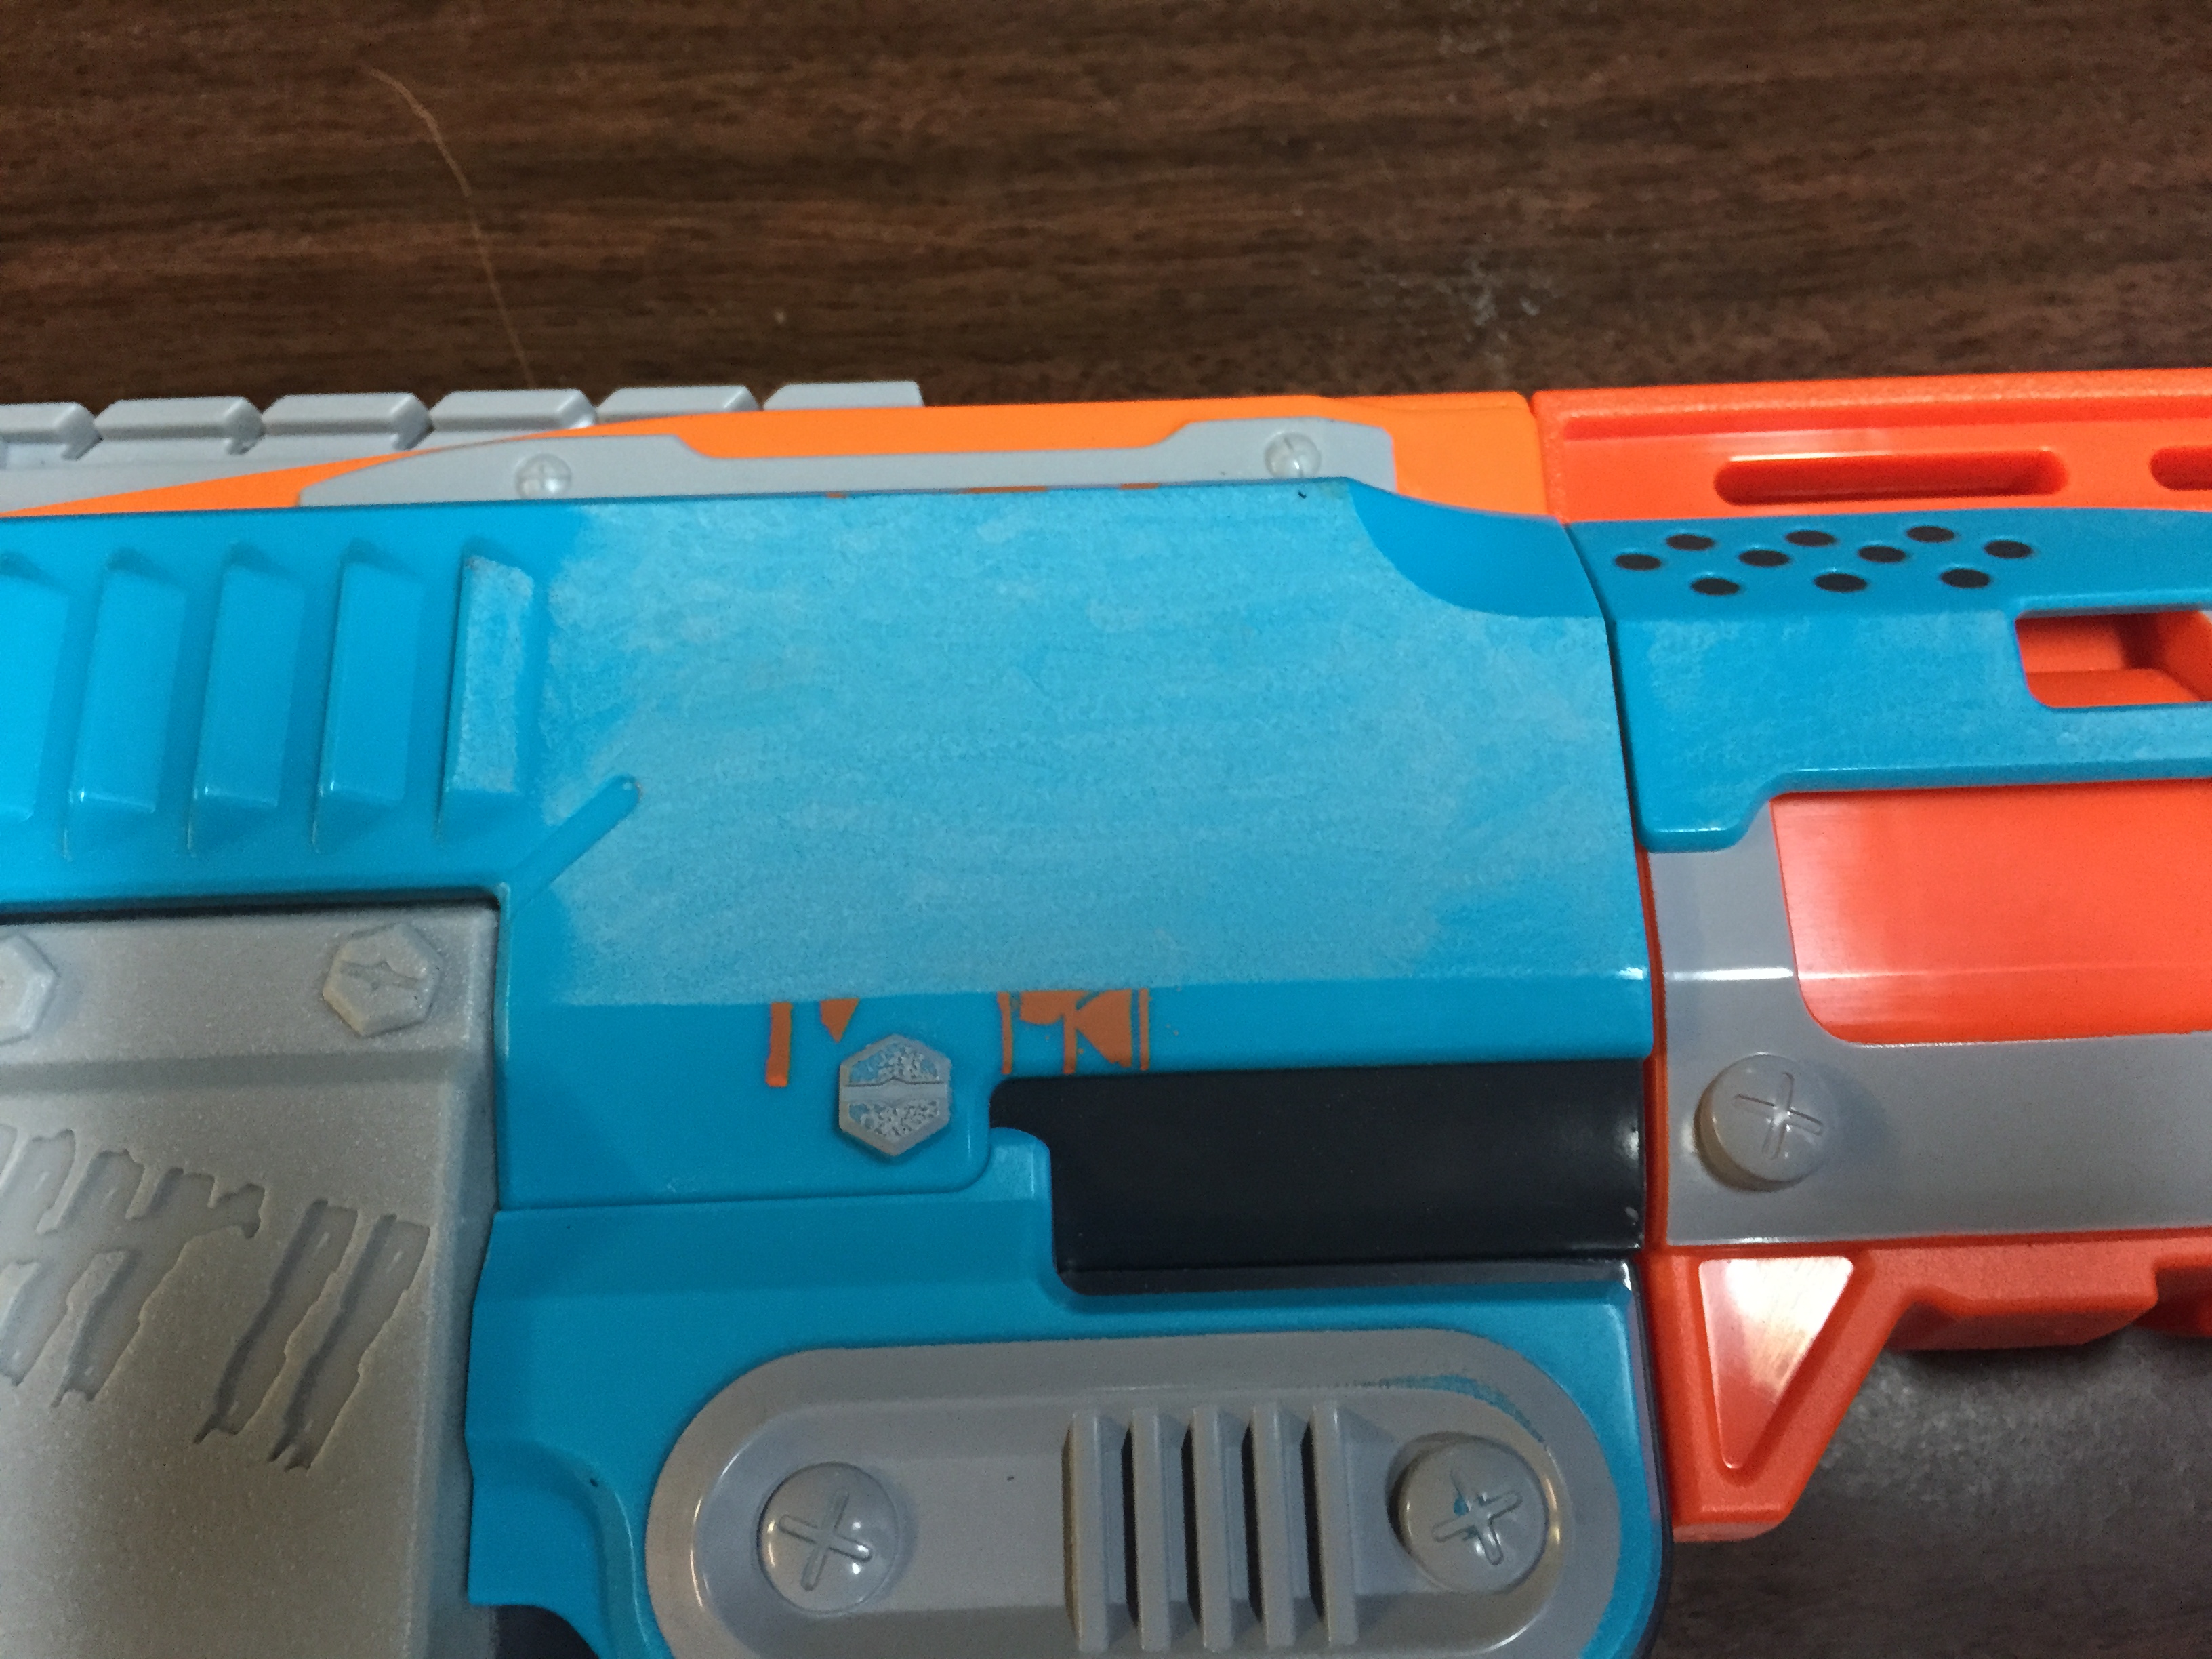
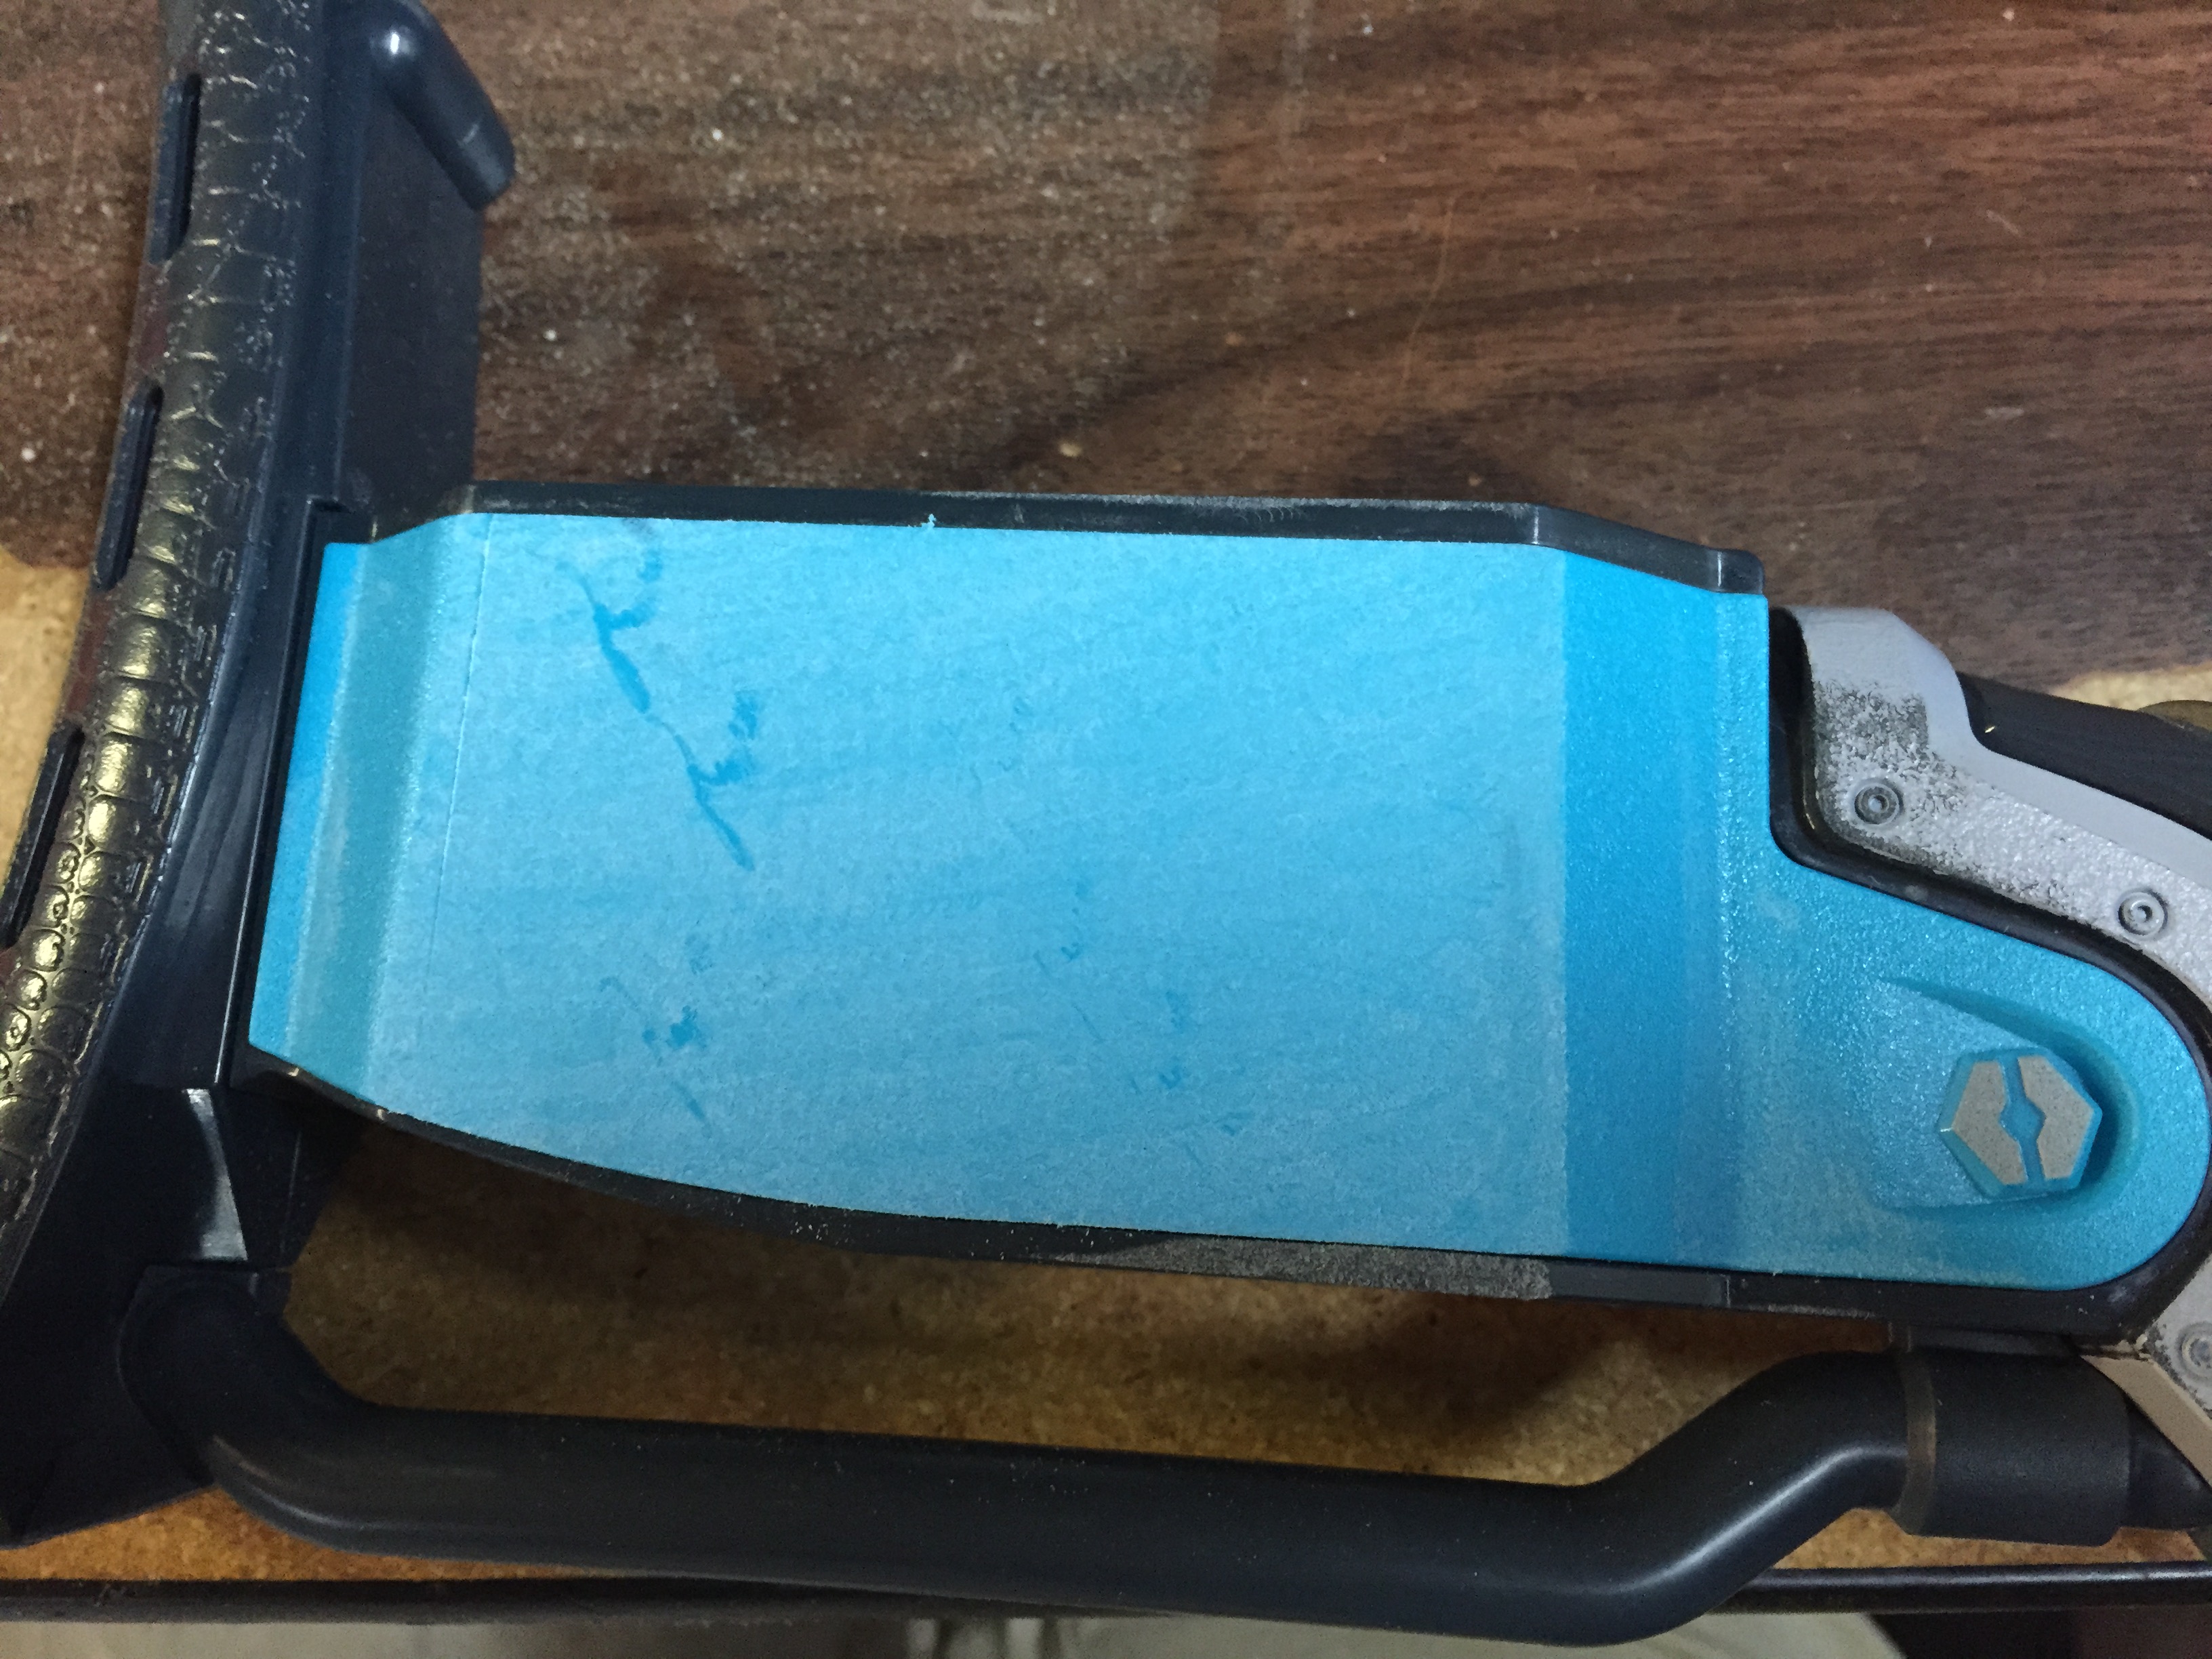
Step 3. Base Coat Painting
For my base coat I always use Dupli-Color Vinyl Dye. It soaks into the plastic a bit and leaves no residue that can interfere with the functionality of your blaster. I cannot recommend this enough!

Step 4. Detail Painting
I use acrylic paints for my detail work, especially when I want to get a woodgrain look. I use the Americana brand you can grab at Michael's for about a buck each.
In this example I used a dark brown for the wood, then went over it with a lighter brown drybrush to add highlights.
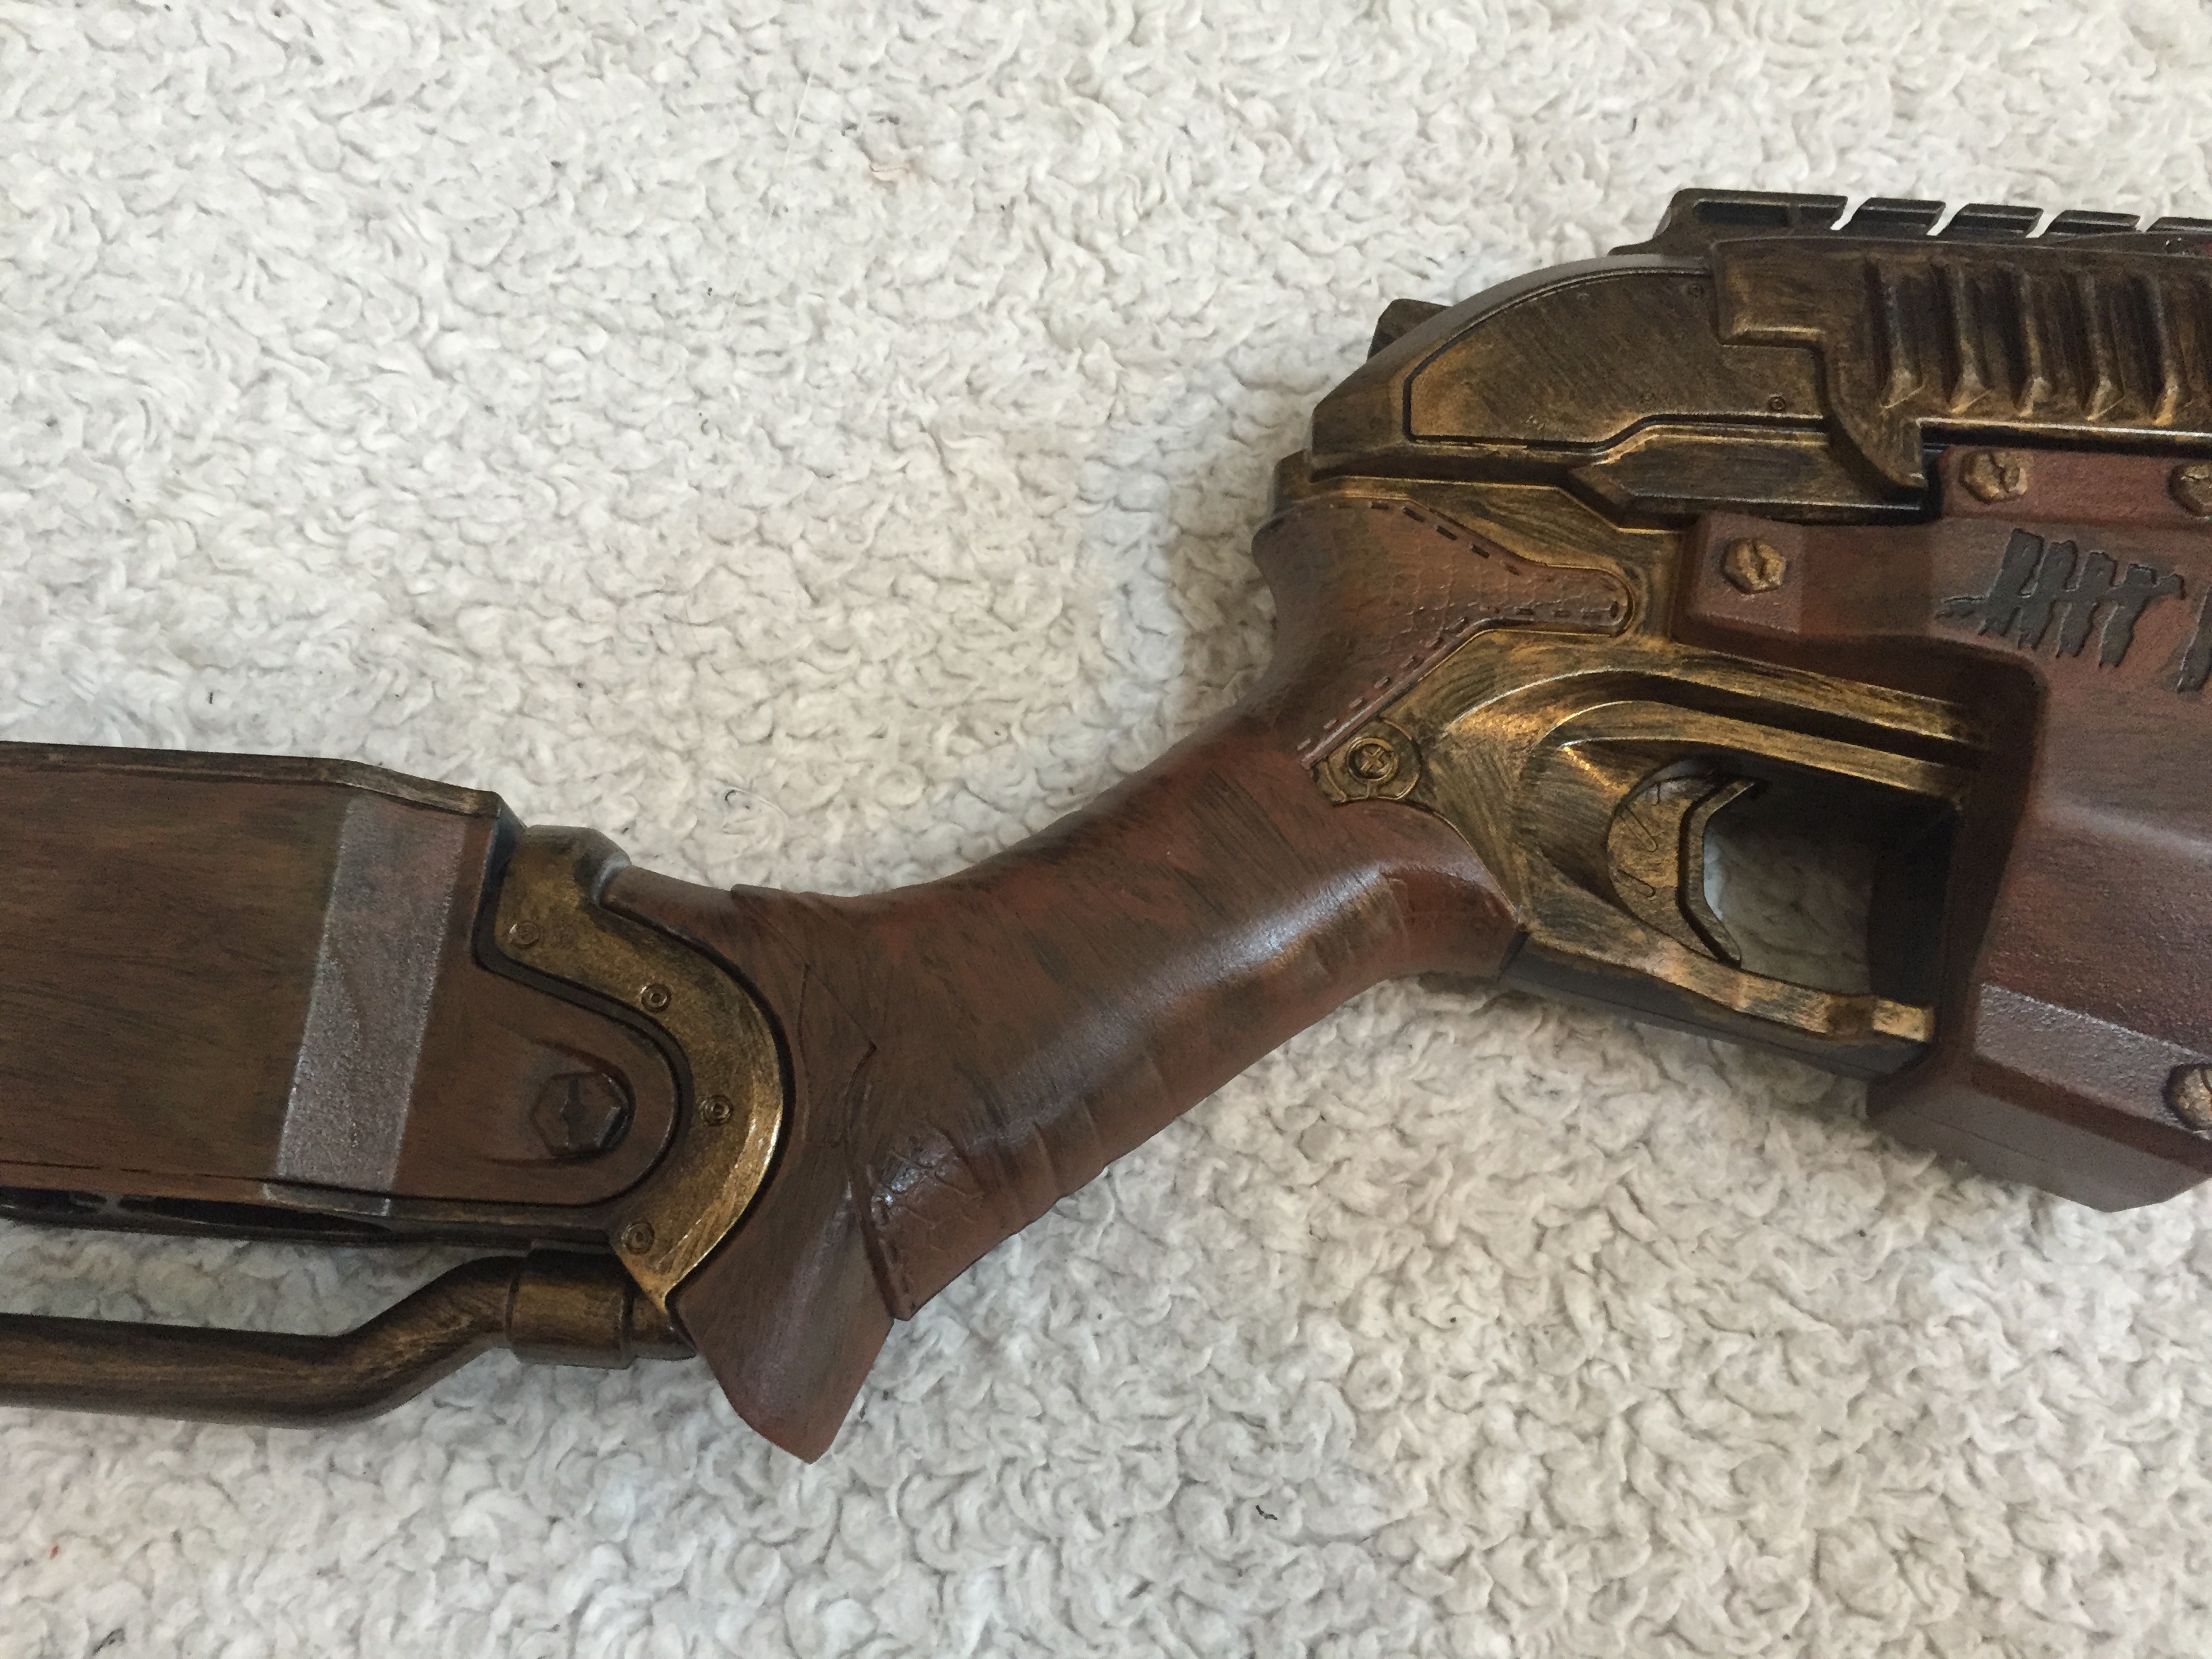
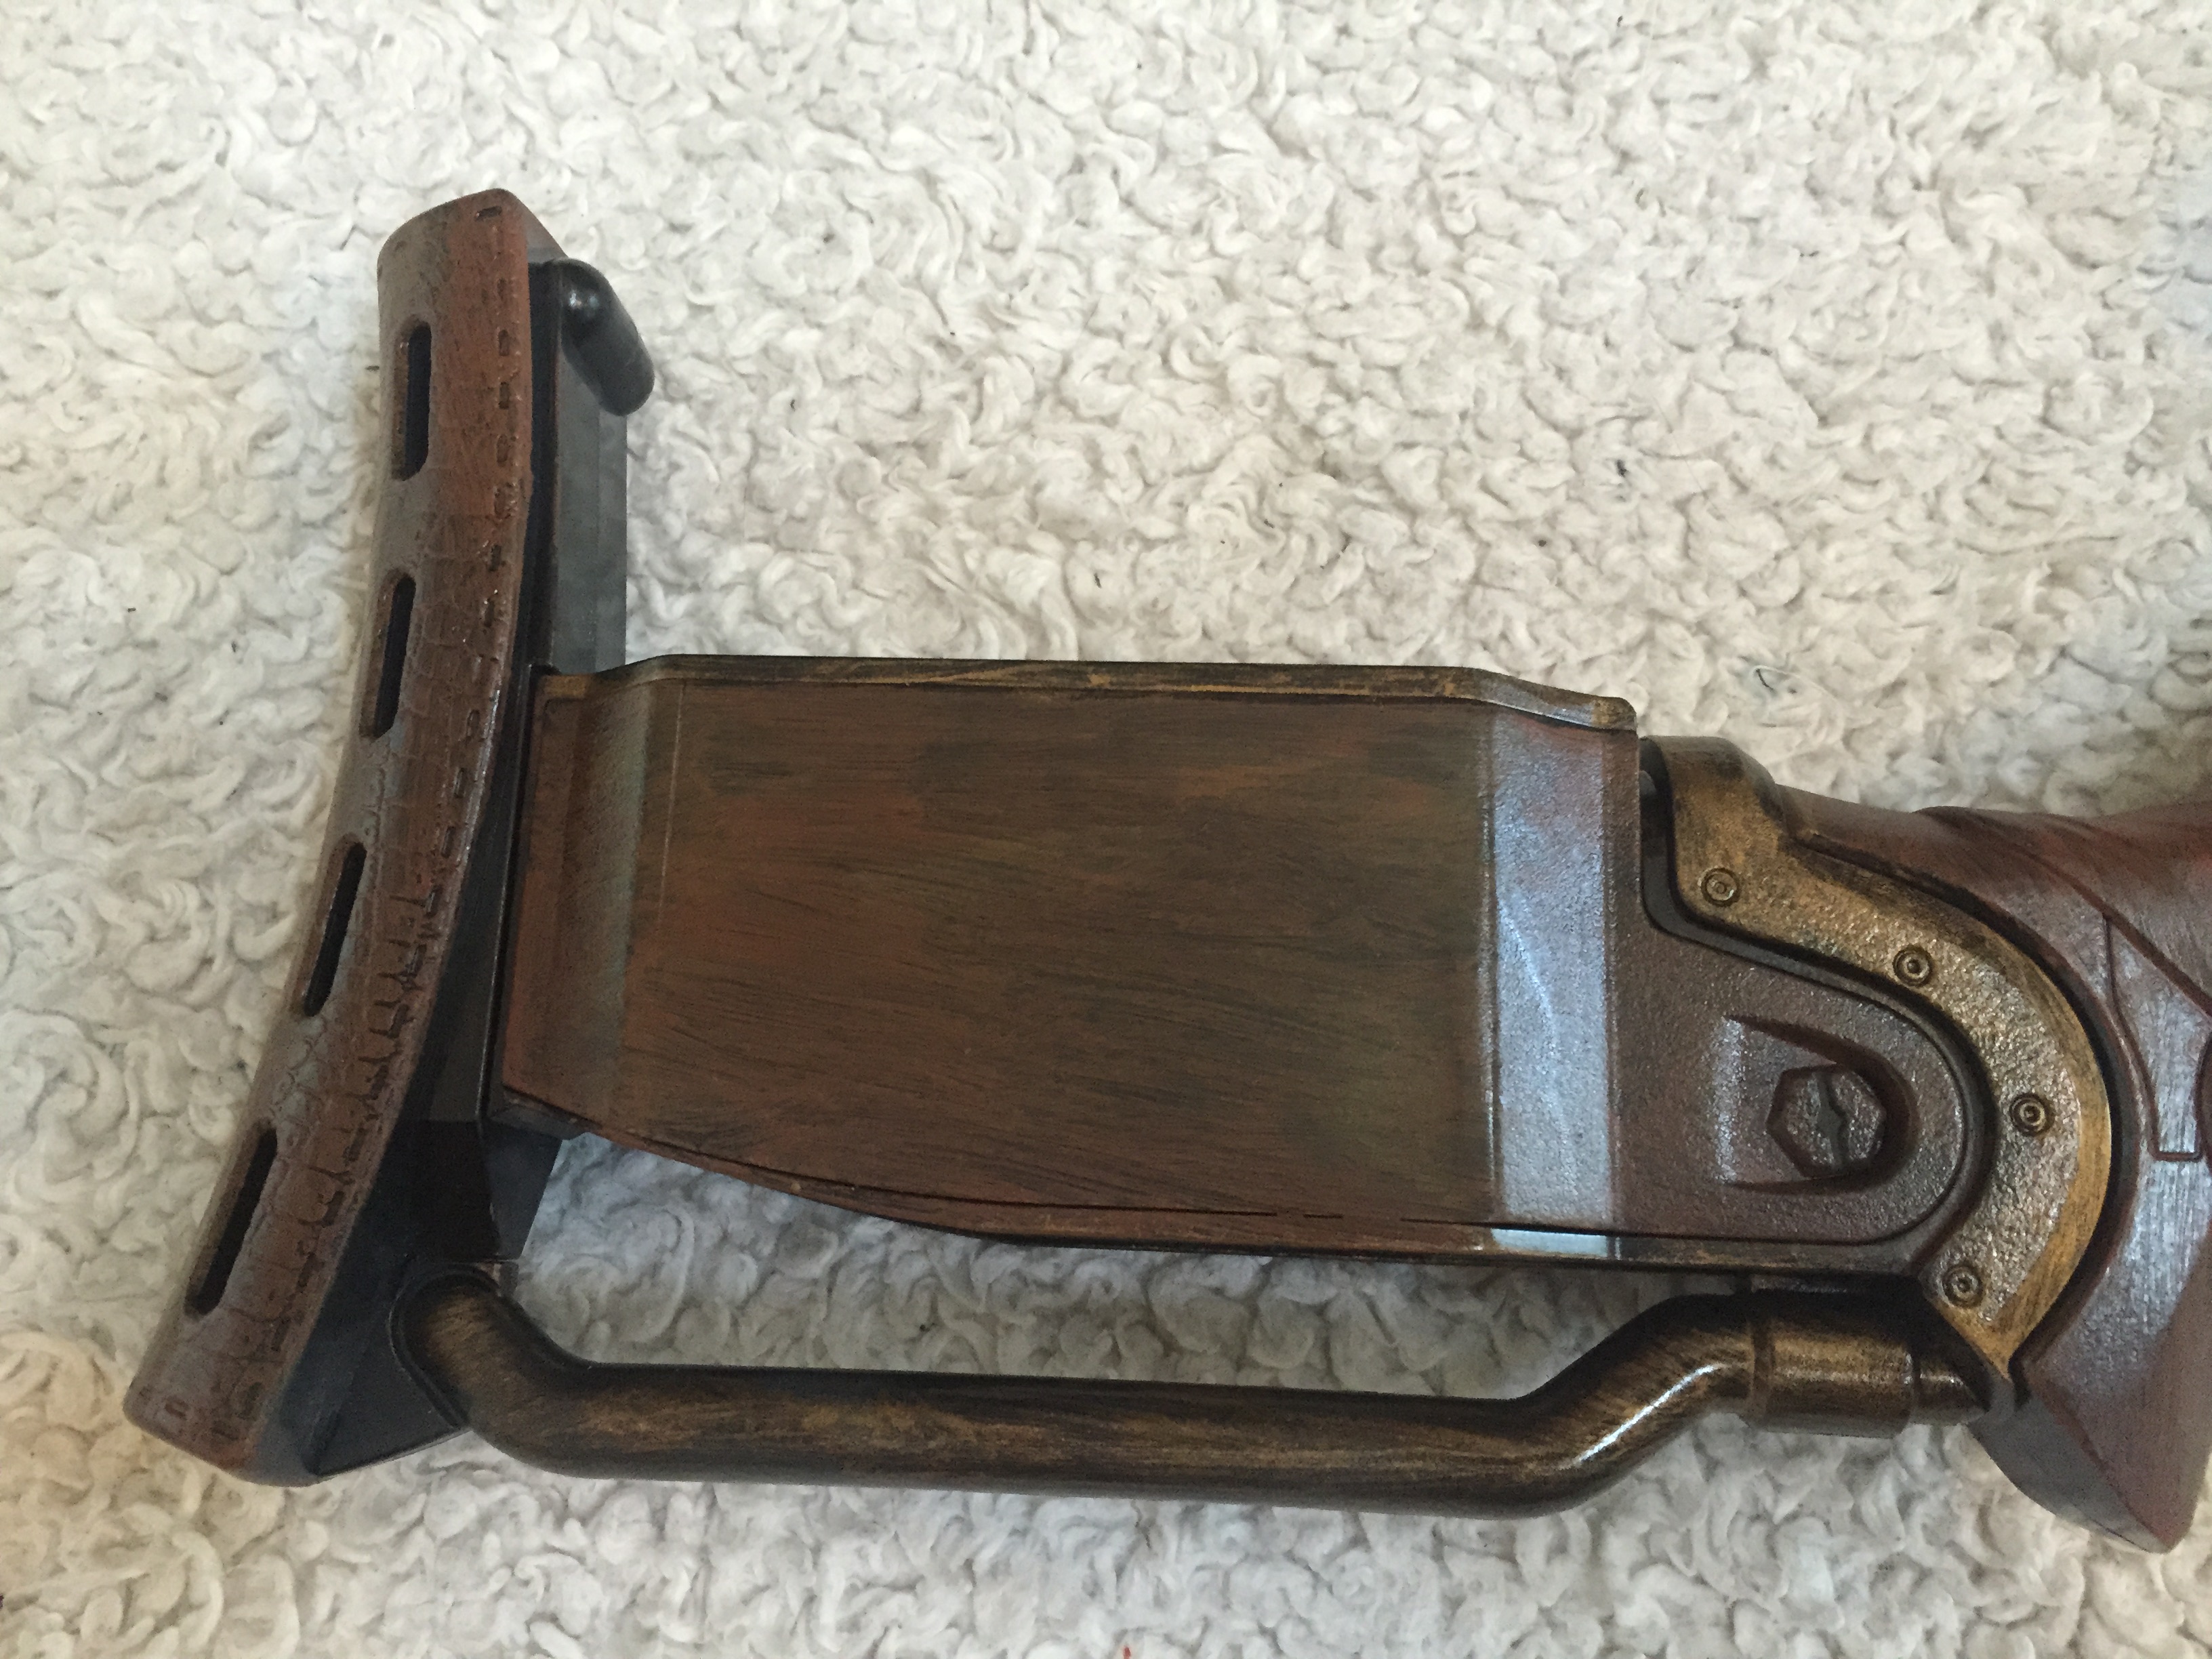
I then used brass acrylic for the metal elements of the weapon.
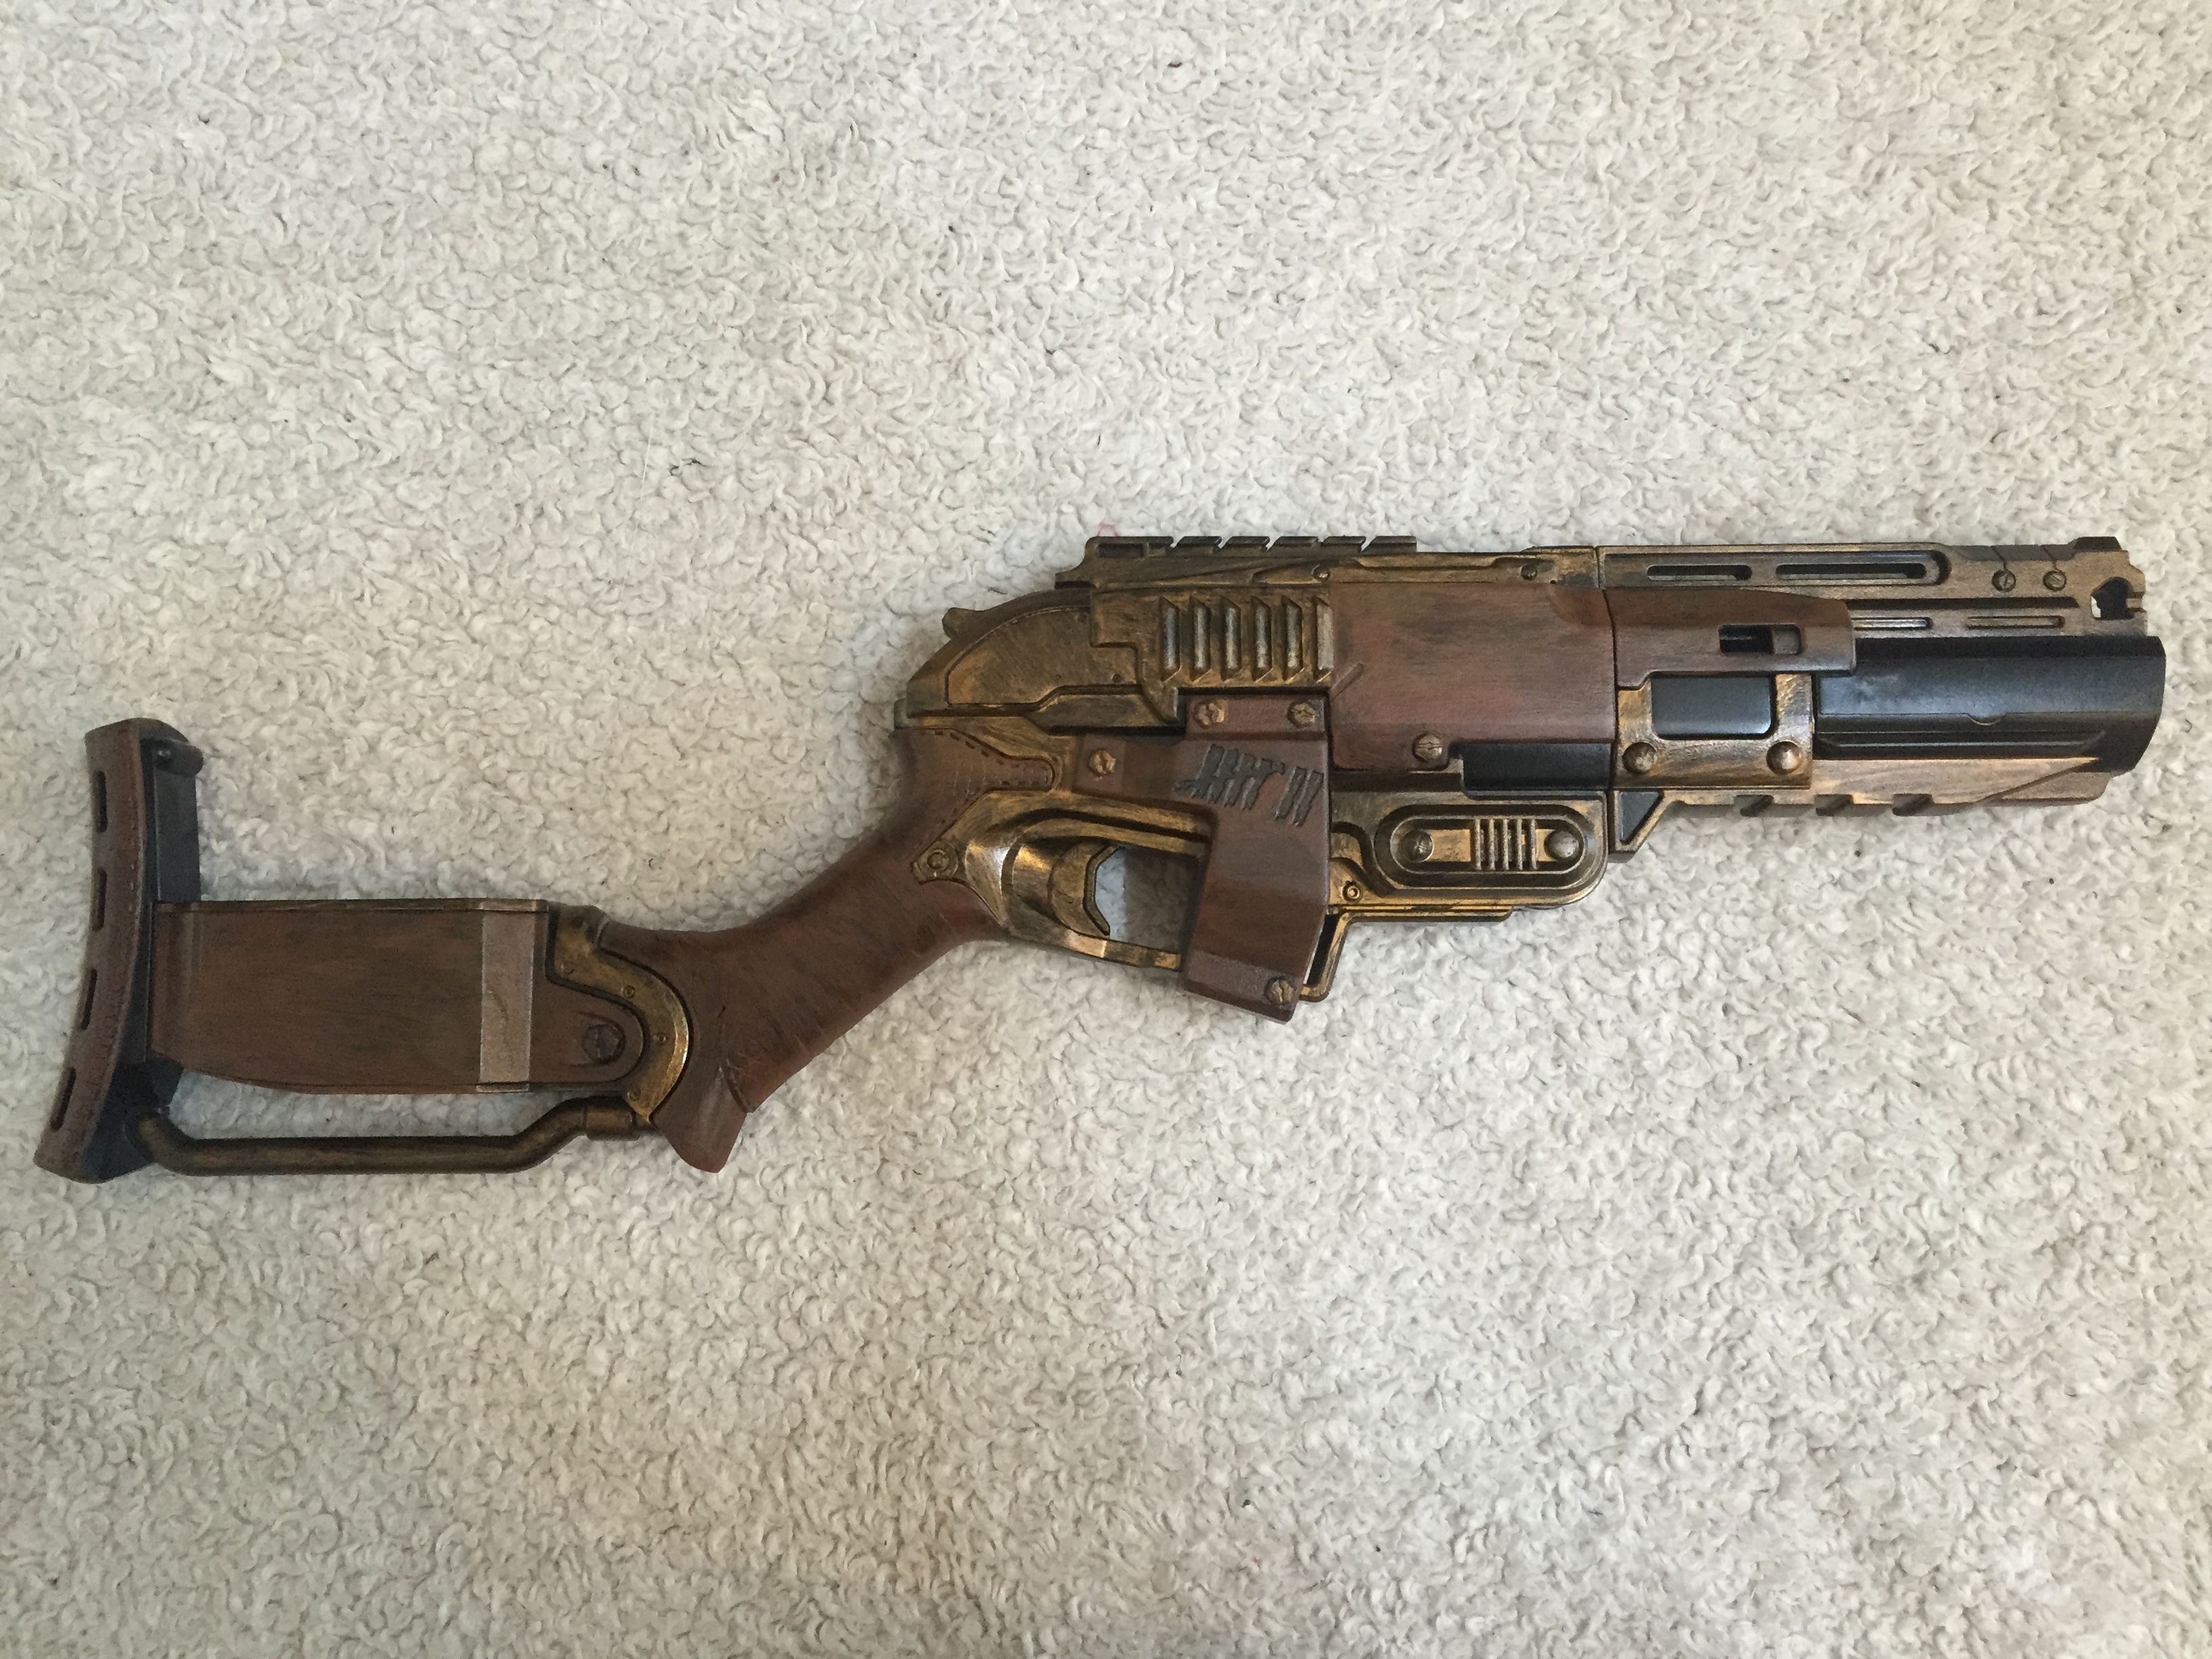
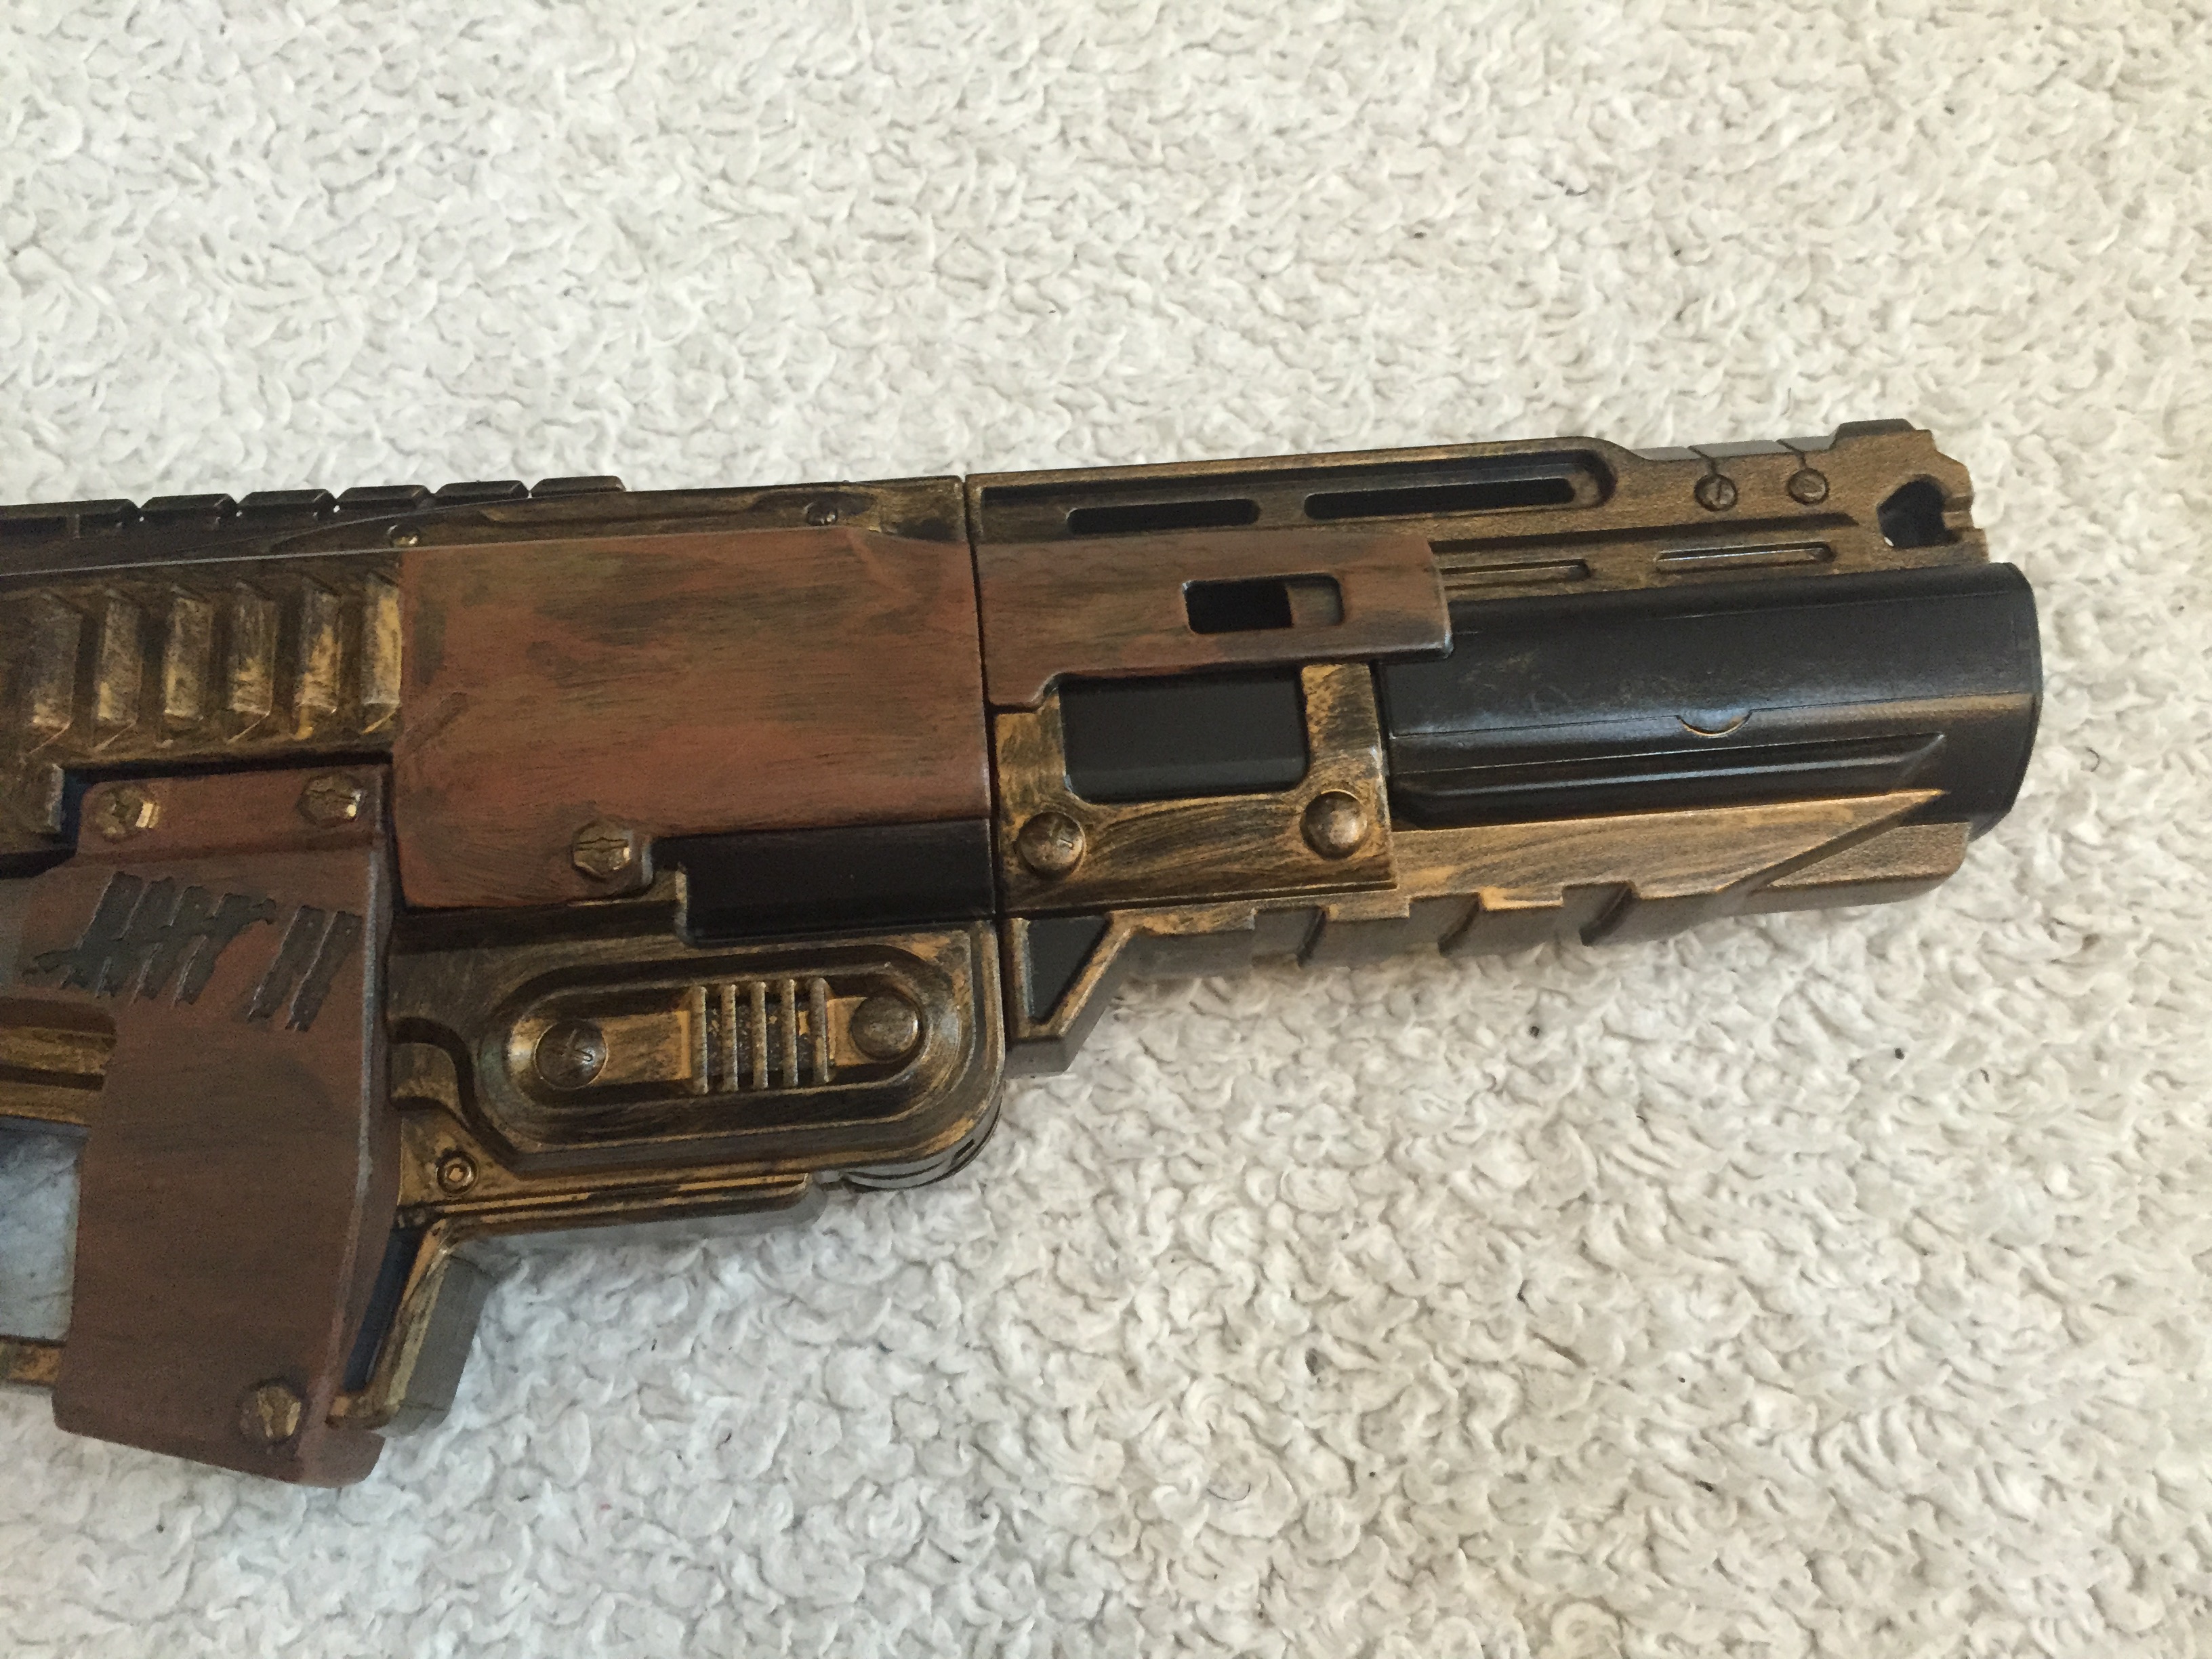
Then I went over it with a black wash to get details in the cracks and crevices.

After the acrylic dried I went over the whole thing with a satin clear coat.
Step 5. "Modding"
I hesitate to really call this a mod. I purchased a Slug insert that changes the weapon from firing 3 darts to only one, significantly improving performance.
Hope you find this helpful!